Learning New Skills - Facebook LIVE website Part 1
Facebook Live is a wonderful way to stream live video content from you to your network of friends, family, and other clients. It can be done on mobile devices through the Facebook app, but if you want to have more options available. You can visit the Facebook Live Create page at https://www.facebook.com/live/create. From there you can use third-party software to stream broadcasting software and post Facebook Live video to various Facebook pages/groups. This tutorial will show you the basics of how to stream Facebook Live through the website using your computer.
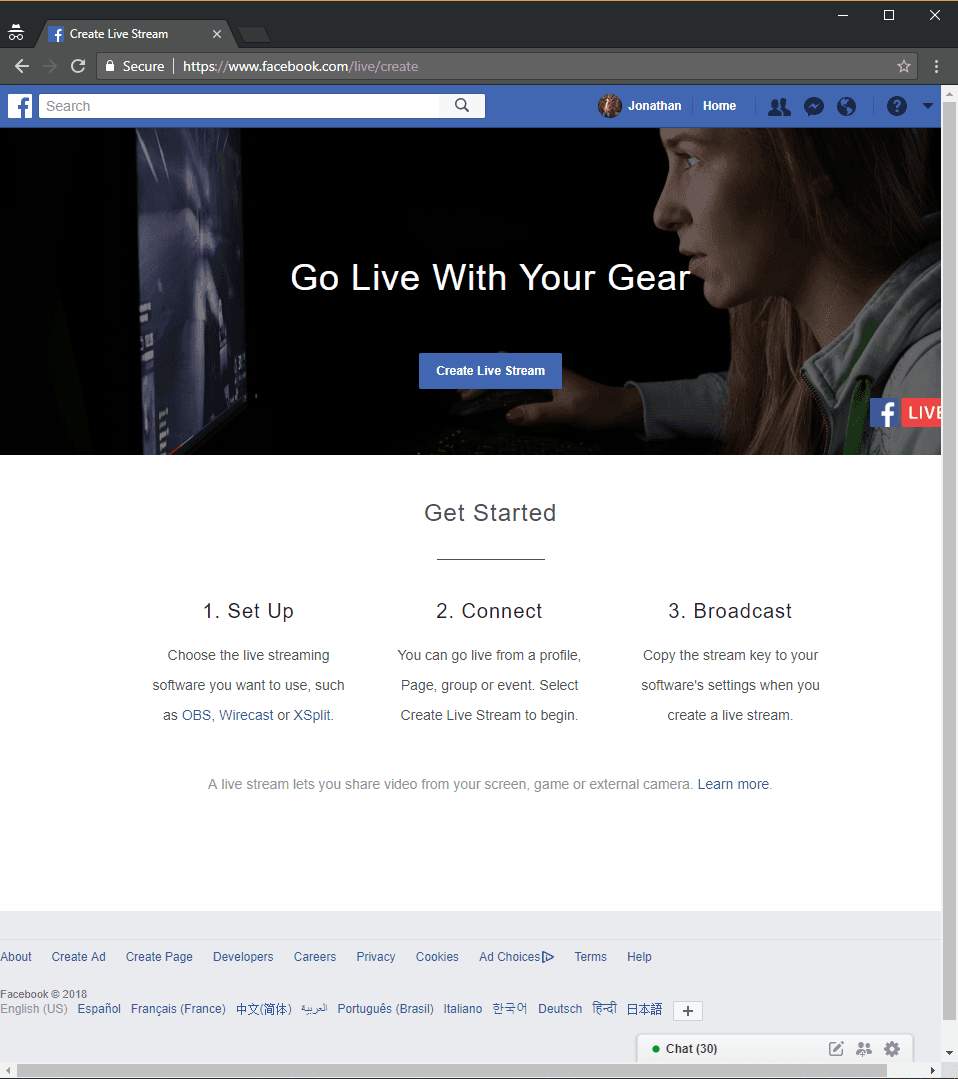
Step 1: Visit Facebook Live Create website
As stated previously, you can go to https://www.facebook.com/live/create to start streaming Facebook Live from your computer. You will need have and login into a Facebook account to use this feature. Click Create Live Stream button to begin.
Step 2: Choose your source for your Live Stream
Once you login, you will be given the option to choose your source. If you do not plan on using a third party software and choose just to use a Camera already connected to your computer, you may choose camera. If so, it will appear below once you give permission for your web browser to access your camera and microphone
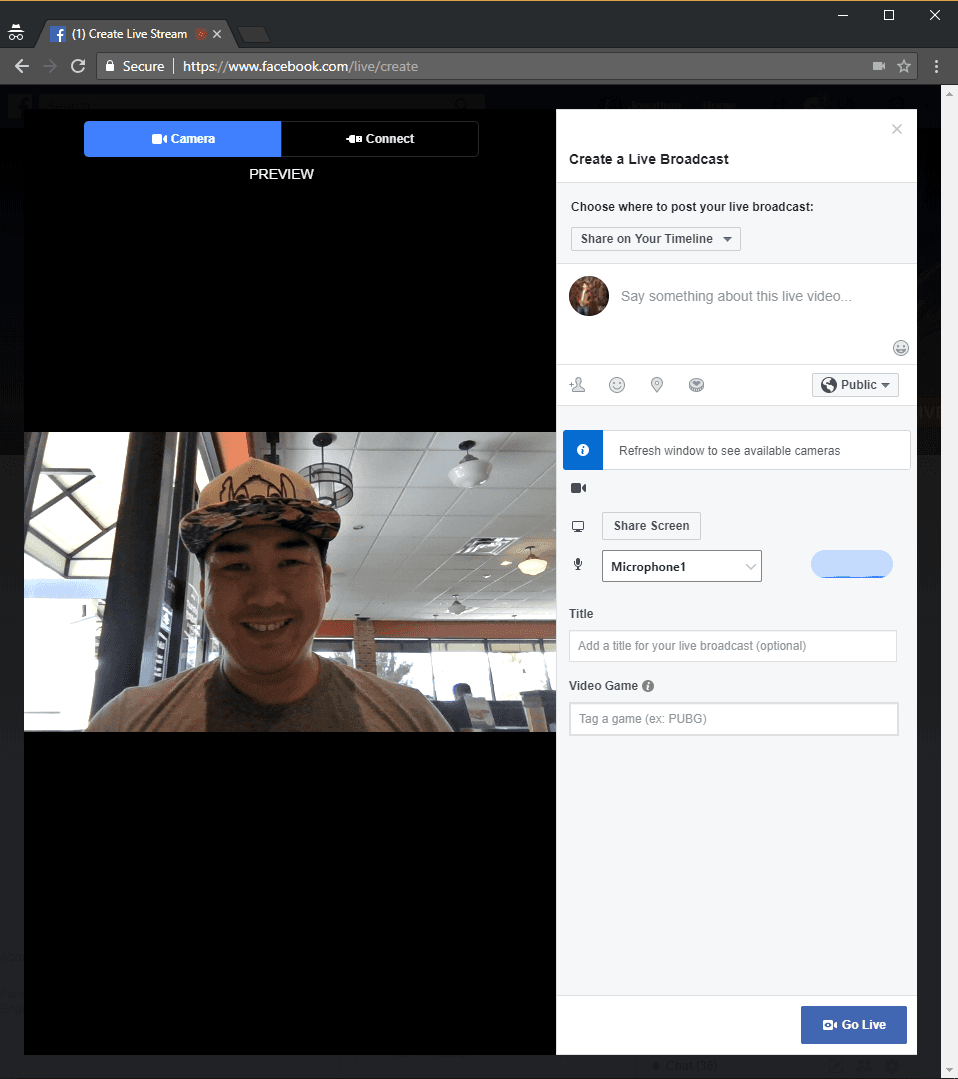
If you choose to Connect(1) to another software, I recommend to use OBS (Open Broadcaster Software) as it is free. It is available at https://obsproject.com. If you want to check out a basic tutorial to get you started, please visit my other blog post at Facebook Live Training OBS. You can configure the OBS software by clicking Stream Key (2) and then copying the Stream Key (3) into the OBS Software Stream Settings. Again further instructions can be found in the OBS Training blog post.

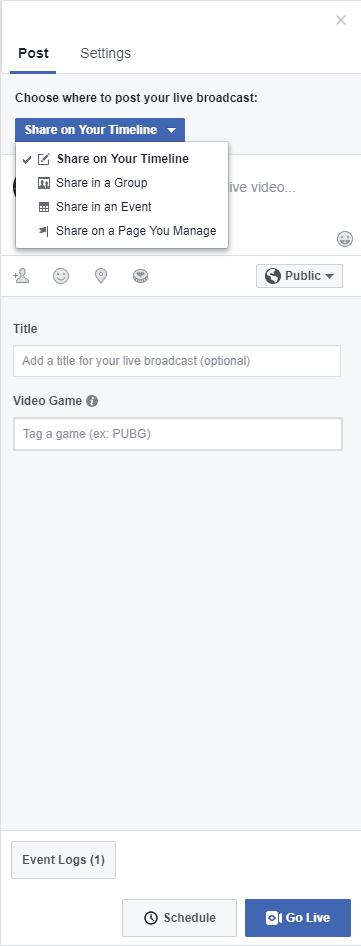
Step 3: Choose your Facebook Live Settings
It is really important that your Facebook Live stream goes into the correct location, especially if you want your Facebook live to only be shared to a specific group of people. There are two ways to choose who this is shown to. The first is choosing where to post your live broadcast. The options are On Your Timeline, in a Group, in an Event, or on a Page You Manage. Using these settings can help you control your audience. If you want to additionally finetune it, you may use the privacy dropdown to decide if the post should be Public, Friends, Friends of Friends, Acquaintances, or any other specific group that you have created in the past.
Step 4: Choose additional Facebook Live Settings (optional)
Facebook Live has a lot of additional stream setting options. From here you can decide how your stream can be displayed. You can decide if your Facebook Live is posted after, if it can be embedded into a website, or if viewers can rewind. All of these are optional.
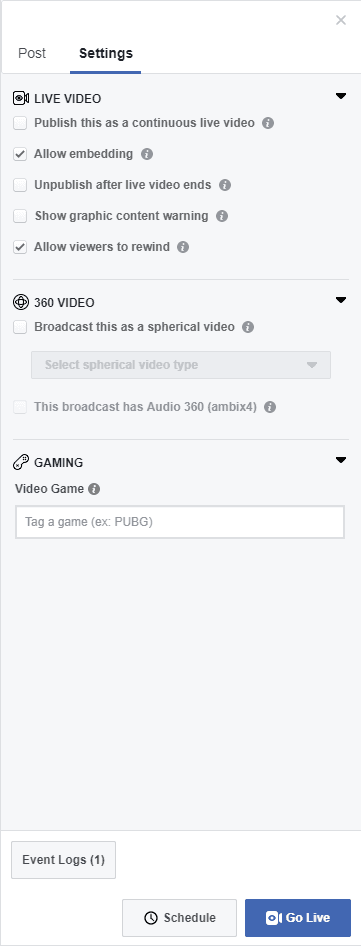
Step 5: Going Live
You can now go live by Clicking the Go Live button or you can schedule it to automatically Go Live at a later time. Just be careful with the Schedule, as it will go live regardless of if you’re ready or not.