Learning New Skills - Facebook LIVE OBS Part 2
The great thing about running your own side business is that you can make the decision on where you want to focus your skill development. In this multi-part series, you can learn about how to use your home computer to create professional streaming broadcasts to Facebook. The first part will teach you the basics of using OBS Studio to stream to Facebook Live. So follow along with either the upcoming video, or use this step by step picture process.
Requirements:
- Windows, macOS 10.11+, or Linux computer
- Video Camera or Microphone
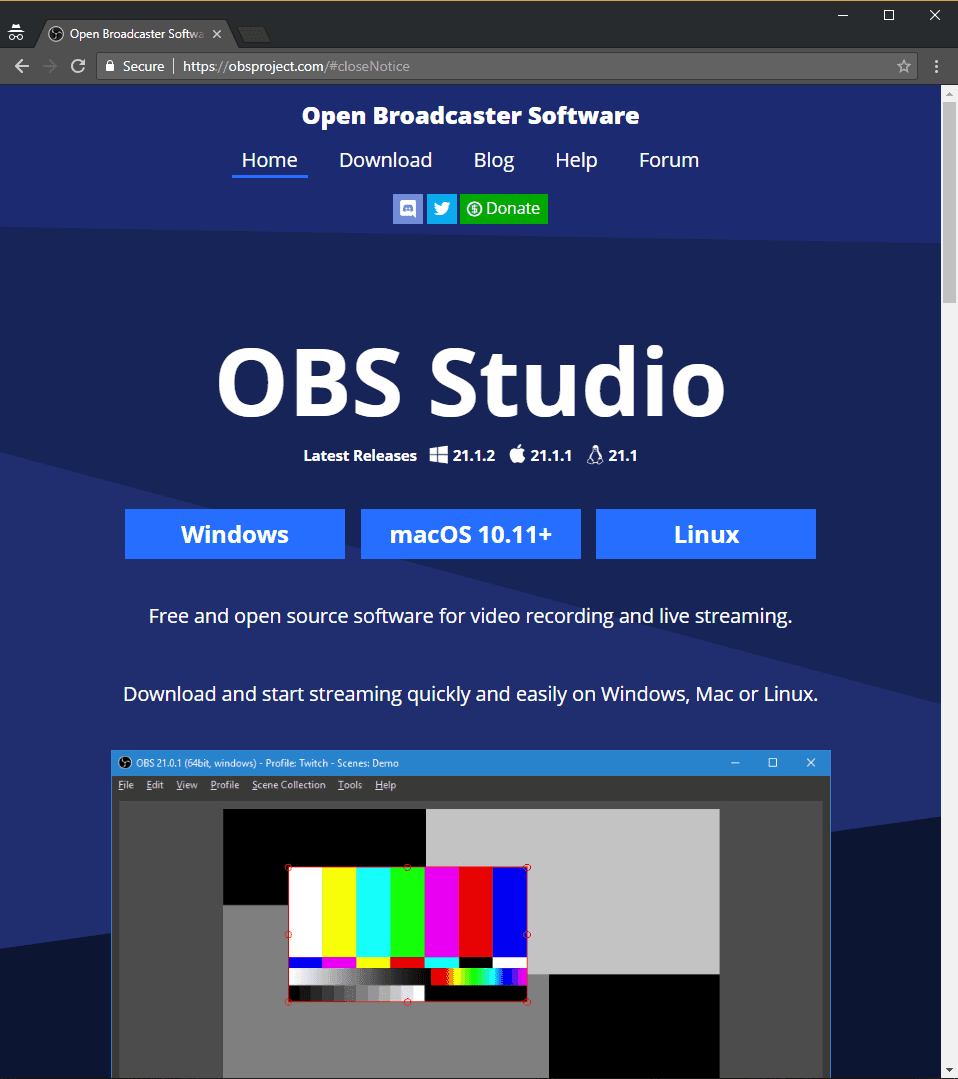
Step 1: Download and Install OBS Studio
Open Broadcaster Software is a free and open source software for video recording and live streaming. It allows you to create multiple scenes as well as a variety of different input sources for live video or streaming creation. Download the software directly from https://obsproject.com
Step 2: Set up your first Scene
Once your OBS Studio has been installed. It’s time to add your first scene. A scene can be viewed as a visual segment, so you can think of it as a title page or a live video segment of yourself. Since this is a basic step, a default scene is already added for you as noted (1). To start your first scene, you will need to add a new Source (2). You can start that by clicking on the (+) sign to add or the (-) sign to remove a source.

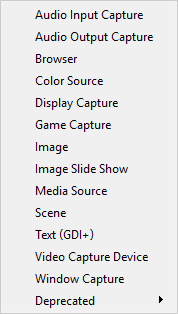
Step 3: Choosing an Input Source
OBS gives you many options for input sources. You can have multiple input sources per scene. In this tutorial, we will be going over the Video Capture Device as it is the most common for Facebook Live. Another one is Audio Input Capture if you would like to use a separate dedicated microphone. Other great options are Browser if you want to capture your web browser, Color Source if you want to use a solid background color, Image to show images or logos, or Text(GDI+) if you want to overlay text.
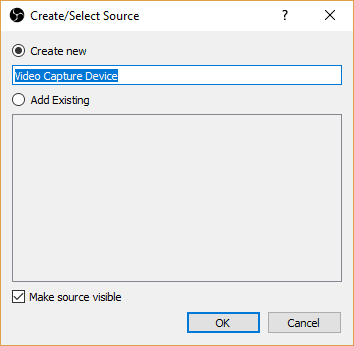
Step 4: Video Input Capture Options
Once you click to add a Video Capture, another window will open. From here you can choose to use an Existing Video Capture source if you already used one previously, or you can Create new. In OBS, names must be unique so the name of your source cannot be the same as a Scene or another source. Giving a descriptive name will help you choose sources in the future.
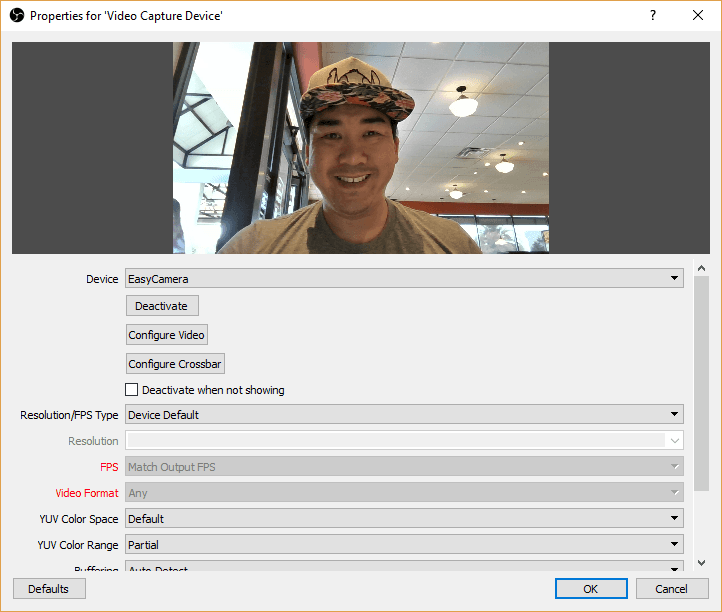
Step 5: Choosing your Video Input Source
Usually your webcam will show up automatically under Device. If you have multiple cameras or camera software that can add filters, you may need to choose the best option that you want. For settings, typically the default is best or if you are later having performance issues, you can update the settings.
Step 6: Setting up your Output
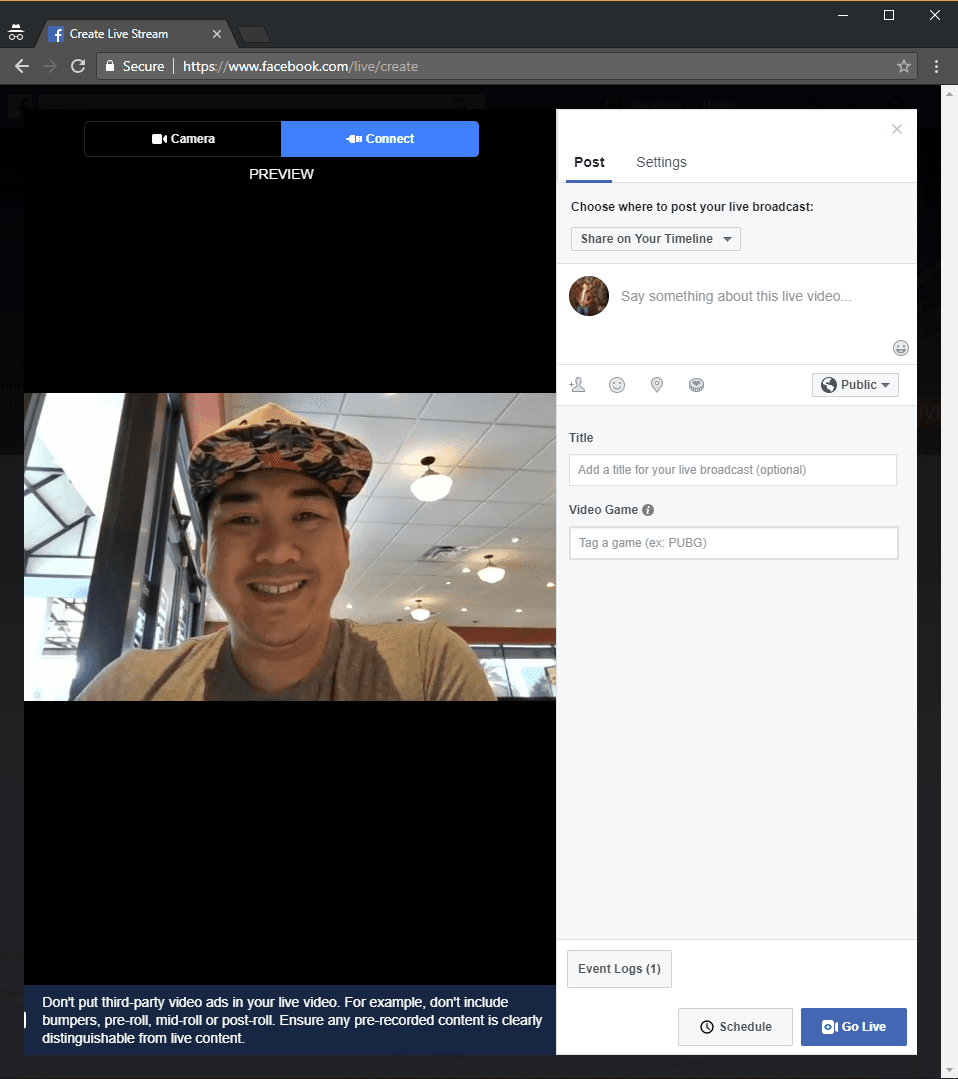
If you done setting up all your input sources and scenes, you can now begin by setting up your output. Your output could be the location and type of file that you are saving your recorded video as or it can be a video stream that you are sending to Facebook Live. In a previous post, we talked about Facebook LIVE so we will show you how to set it up. Start by clicking Settings in the bottom right.
Step 7: Setting up your OBS Stream Settings
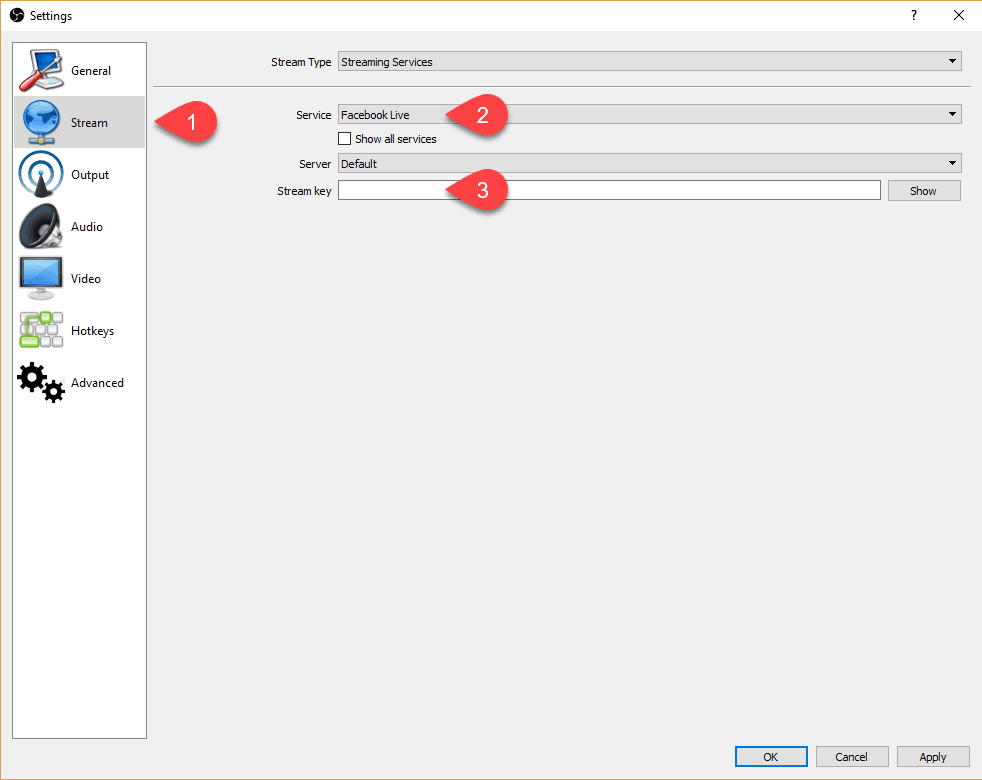
Once you open up Settings, a window will appear. Choose Stream (1) from the menu on the left side. In this specific case, we will be streaming to Facebook. Choose Facebook Live from the dropdown list (2). Copy your Stream key from the Facebook Live create page into the Stream key (3) location. This can also be found at https://www.facebook.com/live/create when you are ready to start your Facebook Live Stream.
Step 8: Start Streaming
Click Start Streaming from the OBS Studio Main window and in a few seconds you should start to see your OBS Studio streaming to the Facebook Live Stream Page. You may now click Go Live from the Facebook Live website page to Go Live. If you want more details, check out our Facebook Live post.